What is Camouflage Direct to Paper you ask? It is a matter of combining direct to paper and add a little bit of camouflage to it! Every year I like to have a masculine class and this was just great!! BUT you could also add some pink ink and make it a card for the lady hunter that you know.
Taking Very Vanilla or Whisper White cardstock for your Direct to Paper technique and add two, three or more colors to create the camouflage results. If you would like to watch Kelly's video, I have listed the link below.
Kelly's Stamp Above Direct to Paper Camouflage Technique
Card #1 - Card for You
Isn't this card stunning?!! To make this camouflage background, select the following inks: Crumb Cake, Soft Suede, Old Olive and Always Artichoke. I took the lightest color (Crumb Cake) and swiped it across the bare Whisper White cardstock, it doesn't have to be solid ink or anything. Next crumple the cardstock and then open it up, swipe the next lightest color (Old Olive) and crumple it up again. Continue this with all of the colors. Take your bone folder and smooth the card stock out and finish your card.

Ink: Crumb Cake, Soft Suede, Old Olive, Always Artichoke and Early Espresso for the Sentiment
Paper: Early Espresso Base & 3 1/2 x 4 Oval, Very Vanilla Layer & 3 x 4 Oval
Accessories: Burlap Ribbon, Early Espresso Twine, Stapler and Dimensions
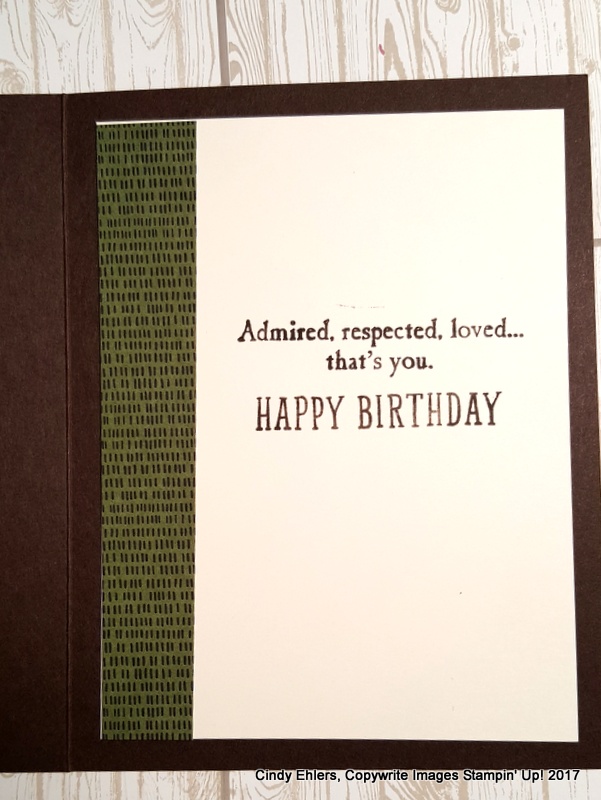
Here is a little tip for you, what does a person do with those little pieces of Designer Series Paper that you just don't have the heart to throw away but it really isn't big enough for much? I have the perfect answer, decorate the inside of your card, like this:
Card #2 - One Wild Ride
What do you think of this concept?!! I love how it turned out!

Ink: Black (Sentiment) Basic Grey and Smokey Slate for the Camoflage
Paper: Basic Grey Base, Black Layer & 3 1/4 x 1 3/4 Layer, Whisper White 3 3/4 x 5
Accessories: Badge Punch, Dimensions
And now for the Fancy Fold Card, I am not sure what kind of fold that this would be but it is such a lovely fold that you could easily reproduce it again and again!
Card #3 - In the Meadow
The card is your usual 5 1/2 x 8 1/2 piece of cardstock and is scored at 4 1/4 and 1 1/4; the 1 1/4 piece is turned up and that is the piece that you adhere the Cajun Craze Square that you have also adhered the Very Vanilla piece.

Ink: Chocolate Chip, Old Olive
Paper: Old Olive Base, Whisper White Square 2 3/4 x 2 3/4, Cajun Craze Square Layer 3x3, Botanical Designer Series Paper Layers 1 1/4 x 5 1/4 & 2 3/4 x 5 1/4
Here is what the card looks like open:

That is our technique class for May, I hope that you enjoyed it. If you have any questions, or would like to leave me a comment, I would appreciate it. Also, if you are not yet subscribed to my blog, please look on the right hand side and enter your email address to subscribe.
Thanks so much for stopping by,
Cindy
*******************************************************************************
Here is What is Happening:
SIGN UP TODAY!!
June 12 - Technique Class, Apple Valley, Neillsville
June 14 - Technique Class, Apple Valley, Neillsville
May 30 - Kit Class, Schmittys, Neillsville
PRIVATE CLASSES ARE AVAILABLE - CONTACT ME TODAY!

Cindys Stamping Studio On Line Store
(Just click on the above link to enjoy your Stampin" Up! Shopping!! Thanks!!
******************************
- Check out the Clearance Rack, just click on the link on the right hand side.
- Check out the Paper Pumpkin monthly project kit - subscribe today - Paper Pumpkin Link